


.svg)
.svg)

When Your Heat Pump Stops Working: Time to Take Action
Heat pump troubleshooting can save you time, money, and frustration when your system starts acting up. Whether it's blowing cold air in winter or making strange noises, many common issues have simple fixes you can handle yourself.
Quick Heat Pump Troubleshooting Checklist:
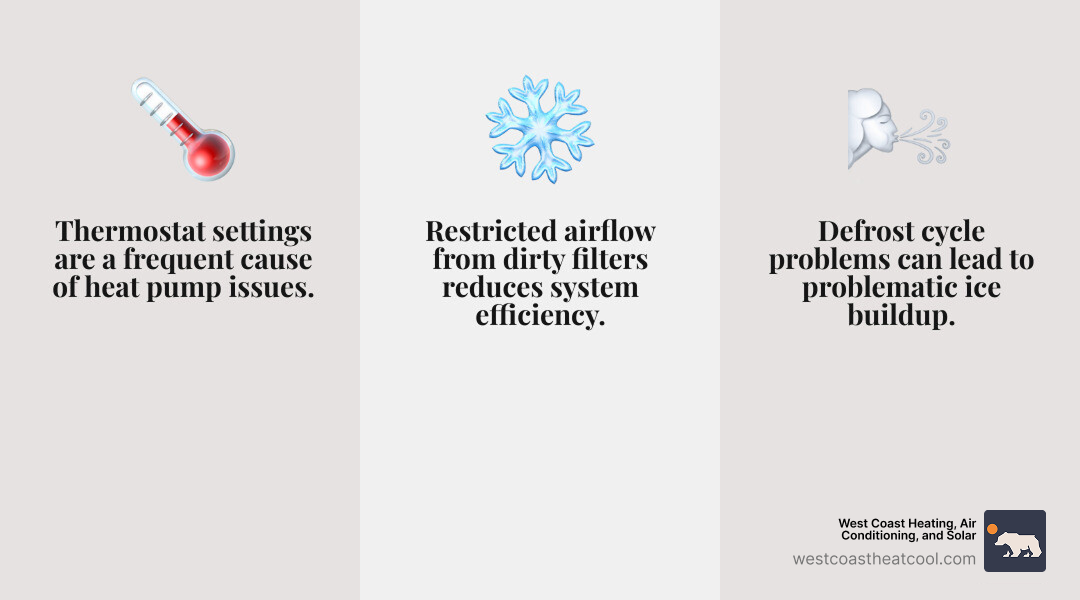
- Check thermostat settings - Verify correct mode (heat/cool), temperature, and fan on "auto"
- Inspect air filter - Replace if dirty or clogged (every 1-3 months)
- Verify power supply - Check circuit breakers for both indoor and outdoor units
- Clear outdoor unit - Remove debris, leaves, or snow blocking airflow
- Listen for unusual sounds - Grinding, screeching, or banging may indicate problems
- Look for ice buildup - Some frost is normal, but thick ice needs attention
- Reset the system - Turn off power for 5 minutes, then restart
Your heat pump works year-round to keep your San Diego County home comfortable. Unlike traditional heating systems that burn fuel, heat pumps move heat from one place to another - making them incredibly efficient. Air-source heat pumps can provide 1.5 to 3 times more heat energy than the electrical energy they consume.
But when something goes wrong, it affects your comfort fast. The good news? Many heat pump problems have straightforward solutions. Some issues need professional attention, especially anything involving refrigerant or electrical components.
Most heat pump malfunctions relate to thermostat, defrost, or airflow problems - issues you can often identify and sometimes fix yourself.
Heat pump troubleshooting terminology:
Your First Steps in DIY Heat Pump Troubleshooting
Before you panic or reach for the phone, let’s go for the low-hanging fruit. These are the simple checks that can save you a service call and get your system back on track. Think of it as warming up before the main workout – crucial and often overlooked!
Check Your Thermostat: The Brain of the Operation
Your thermostat is the command center for your entire HVAC system, and often, issues stem from incorrect settings or a simple power problem here. It's the first place we look during any heat pump troubleshooting process.
First, ensure your thermostat is set to the correct mode for the season. If it's winter, make sure it's on "Heat" mode, and in summer, select "Cool." The fan setting should generally be on "Auto." If you like to run your fan continuously for air circulation, you might feel room temperature or even cool air coming from the vents, which could be mistaken for a heating problem.
Next, check your temperature settings. For optimal energy efficiency and comfort, the ideal thermostat setting in summer is 78°F, allowing you to stay cool while avoiding sky-high electricity bills. In winter, we recommend setting your thermostat anywhere between 68°F to 72°F. If your heat pump is struggling to reach the set temperature, ensure it's not set too far above or below the current room temperature, as this can confuse the system or cause it to run constantly.
A blank thermostat screen is a common culprit. If your thermostat isn't lighting up, the batteries might be dead. A quick battery change often resolves this. Also, consider its location. If your thermostat is in direct sunlight, near a drafty window, or close to a heat-producing appliance, it might be misreading your home's actual temperature, leading to comfort issues.
Inspect the Air Filter: The Lungs of Your System
The air filter is literally the lungs of your heat pump system, and a clogged one can cause a surprising number of problems. Ignoring it is like trying to run a marathon while holding your breath!
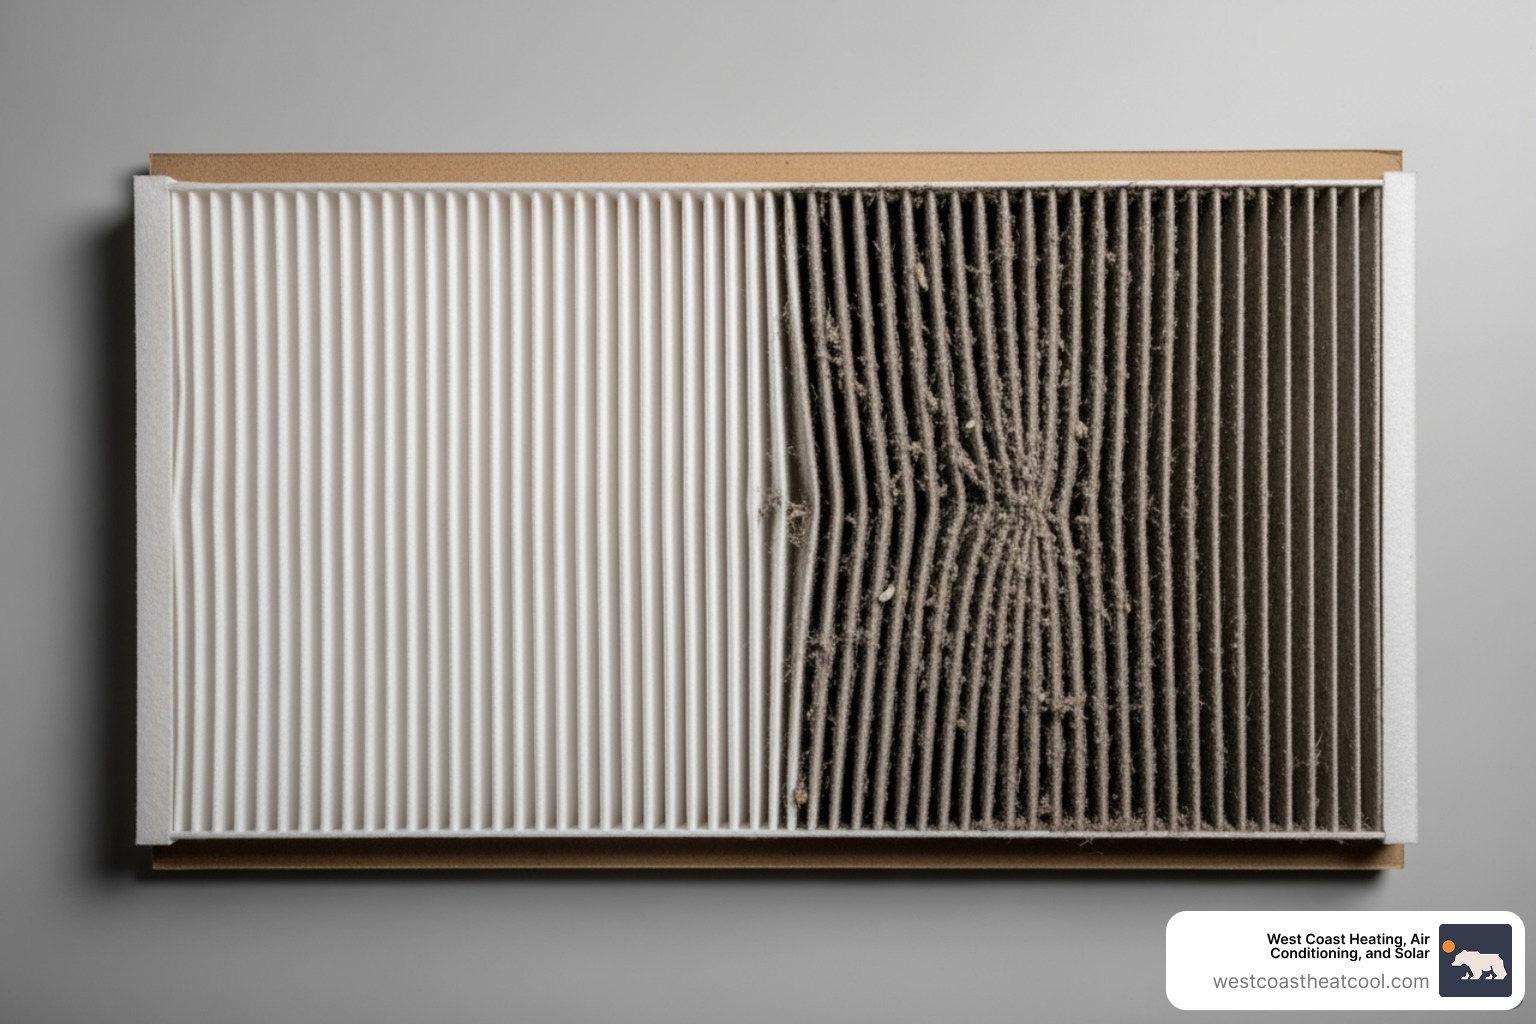
The primary role of the air filter is to trap dust, dirt, pet dander, and other airborne particles, preventing them from entering your heat pump's indoor unit and circulating throughout your home. When the filter gets dirty, it restricts airflow. This not only makes your system work harder, increasing energy consumption and utility bills, but it can also lead to more serious issues like a frozen evaporator coil or reduced heating and cooling effectiveness.
Checking your air filter is easy. Locate the filter slot, usually in your indoor air handler or a return air vent, slide out the old filter, and hold it up to the light. If you can't see light through it, it's time for a change. We recommend checking your air filter monthly, and on average, you should clean your air filters every two weeks and replace them every three to four months, depending on usage and household conditions (e.g., pets, allergies). For standard filters, replacement every 1-3 months is a good rule of thumb. Regularly replacing or cleaning your air filter is one of the easiest and most impactful steps you can take in heat pump troubleshooting and preventative maintenance.
Verify Power to the Unit
No power, no performance – it's that simple! If your heat pump isn't turning on at all, or if only one part of it is working, a power issue is a likely suspect.
Head to your home's main electrical panel. Look for circuit breakers labeled for your indoor air handler and your outdoor heat pump unit. Sometimes, a breaker can trip due to an electrical surge or an overload, cutting power to the unit. If you find a tripped breaker (it will typically be in the "off" or middle position), simply flip it firmly to the "off" position and then back to "on" to reset it. If the breaker immediately trips again, do not continue to reset it, as this indicates a more serious electrical problem that requires professional attention.
Also, check for any external power switches near your indoor air handler or outdoor unit. These look like light switches and can sometimes be accidentally turned off. Ensure they are in the "on" position. If your system uses fuses, remember to always disconnect electrical power before attempting to remove or inspect them for safety.
Diagnosing Common Issues: A Deeper Dive into Heat Pump Problems
Once you've covered the basics, it's time to dig a little deeper into specific symptoms your heat pump might be exhibiting. Understanding these can help us pinpoint the problem more accurately.
Heat Pump Not Heating or Cooling Effectively
This is perhaps the most frustrating issue: your heat pump is running, but your home isn't reaching the desired temperature. It's like having a car that's running but not moving!
We've already discussed the thermostat and dirty air filters, but let's quickly reiterate their importance. An incorrectly set thermostat or a clogged filter can significantly hinder your system's ability to effectively heat or cool. Always double-check these first.
Beyond those, one of the most common reasons for ineffective heating or cooling is low refrigerant levels. Refrigerant is the fluid that carries heat between your indoor and outdoor units. If there's a leak, the system won't have enough refrigerant to perform its job efficiently. Signs of a refrigerant leak include a hissing sound, an oily residue near the refrigerant lines, or ice buildup on the outdoor unit's coils (more on that later). Unfortunately, refrigerant leaks are not a DIY fix and require a certified HVAC technician.
Another potential culprit is a malfunctioning reversing valve. This crucial component changes the direction of refrigerant flow, allowing your heat pump to switch between heating and cooling modes. If it's stuck or faulty, your heat pump might only be able to heat or only cool, regardless of your thermostat setting. For example, if your heat pump cools but doesn't heat, a problem with the reversing valve is a strong possibility.
Finally, consider the outdoor temperature impact. Most heat pumps work best when the outside temperature is above 40°F. Temperatures below 40°F result in decreased efficiency, meaning your heat pump has to work harder and longer to extract heat from the colder air. In very cold climates, supplemental heat sources might be needed. For more insights on cooling specific issues, check out our guide on 6 Common Heat Pump Cooling Issues.
Heat Pump is Running Constantly or Short Cycling
A heat pump that runs non-stop or, conversely, turns on and off too frequently (short cycling) is a red flag. Neither behavior is normal or efficient.
If your heat pump is running constantly, it could be trying to compensate for something. In colder temperatures (below 40°F), it's somewhat normal for heat pumps to run more continuously as they work harder to maintain indoor comfort. However, if it's running non-stop in moderate weather, consider these causes:
- Extreme temperatures: As mentioned, very cold or very hot weather can make your system run longer.
- Dirty coils: Both indoor (evaporator) and outdoor (condenser) coils need to be clean. Dirty coils hinder heat transfer, forcing the unit to run longer.
- Low refrigerant: If your system is low on refrigerant, it struggles to move heat, leading to extended run times.
- Improper thermostat placement: If the thermostat is in an area that's always hotter or colder than the rest of the house, it will constantly call for heating or cooling.
- Air leaks: Drafts around windows and doors can make your system work harder to maintain temperature.
- Oversized system: Paradoxically, an oversized heat pump can sometimes run constantly if it's too powerful for your home's needs, leading to rapid temperature changes and continuous adjustments.
On the other hand, short cycling is when your heat pump kicks on and off every few minutes, never completing a full heating or cooling cycle. Heat pump systems should ideally run for 10–20 minutes per cycle. Short cycling is detrimental, as it causes excessive wear and tear, wastes energy, and often indicates an underlying problem. Common causes include:
- Dirty air filters or blocked vents: Restricted airflow can cause the system to overheat and shut down prematurely.
- Oversized system: A heat pump that's too large for your home will heat or cool too quickly, satisfy the thermostat, and then shut off, only to restart a few minutes later when the temperature drifts. This is a common cause of short cycling. Our blog on Is My Heat Pump Improperly Sized? has more details on this.
- Faulty thermostat: An improperly calibrated or malfunctioning thermostat can send incorrect signals, leading to short cycling.
- Refrigerant leaks: Low refrigerant can cause the system to struggle, leading to frequent shutdowns.
The Outdoor Unit is a Block of Ice
Seeing your outdoor heat pump unit covered in ice can be alarming, but it's not always a crisis. Understanding the difference between normal frost and problematic ice is key for effective heat pump troubleshooting.
During colder months, it's normal for a thin layer of frost to form on the outdoor coil, especially when temperatures hover around freezing (35-40°F). Your heat pump has a defrost cycle designed to handle this. This cycle typically engages when outdoor temperatures are in the range of 35-40°F and periodically melts away any ice buildup. A gentle whooshing sound from the reversing valve is often heard during this process, and you might see some steam coming off the unit.
However, if you notice a thick layer of ice that doesn't melt after a few hours, or if the entire unit is encased in ice, then we have a problem. This problematic ice buildup can be caused by:
- Blocked airflow: Debris, leaves, or even snow around the outdoor unit can restrict airflow, preventing the defrost cycle from working effectively or causing the coil to get too cold.
- Low refrigerant: As mentioned, low refrigerant levels can cause the outdoor coil to get excessively cold, leading to more severe ice formation.
- Faulty defrost cycle components: Issues with the defrost sensor, defrost timer, or reversing valve can prevent the system from initiating or completing its defrost cycle.
If you observe excessive ice, here's what you can do before calling us:
- Clear debris: Remove any leaves, twigs, snow, or other obstructions from around the outdoor unit. Ensure at least two feet of clearance on all sides.
- Turn off the heat pump: Switch the unit off at the thermostat and the electrical disconnect switch near the outdoor unit.
- Gently thaw: You can carefully and gently spray the coils with warm (not hot) water from a garden hose to help melt the ice. Never chip away at the ice with a sharp object, as this can severely damage the delicate coils.
- Check the drain pan: Ensure the drain pan beneath the outdoor unit isn't clogged, preventing melted ice from draining away.
- Switch to emergency heat: If your system has an emergency heat setting, you can use this temporarily to warm your home while the outdoor unit thaws.
If the ice buildup persists after these steps, it's time for a professional diagnosis.
Alarming Noises and Strange Smells
Your heat pump shouldn't sound or smell like a haunted house! Unusual noises or odors are often indicators of underlying problems that need attention. Our blog 5 Alarming Heat Pump Noises and What They Mean digs deeper into this.
Noises:
- Grinding, screeching, or squealing: These often point to motor issues, such as failing bearings in the blower motor (indoor unit) or outdoor fan motor. A failing compressor can also produce grinding sounds.
- Banging or clanking: This could be a loose component, like a fan blade hitting something, or a more serious issue within the compressor.
- Buzzing: A persistent buzzing might indicate electrical problems, such as a failing capacitor or contactor, or loose wiring.
- Hissing or gurgling: A hissing sound often suggests a refrigerant leak, while gurgling can also indicate refrigerant issues or air in the refrigerant lines.
Smells:
- Burning smell: This is a major red flag and requires immediate attention. A burning odor can indicate electrical issues, such as a damaged wire, an overheating motor, or a burnt out component. If you detect a burning smell, turn off your heat pump at the circuit breaker immediately and call us.
- Musty odor: A musty smell, especially when your system first turns on, usually indicates mold or mildew growth within your indoor unit or ductwork. This can impact indoor air quality and worsen allergies. Replacing air filters and cleaning coils can help, but significant mold may require professional remediation.
- Rotten egg smell: While rare for a heat pump itself, if you smell rotten eggs, it could indicate a natural gas leak, especially if you have a dual-fuel system with a gas furnace backup. Evacuate your home and call your gas company immediately.
When it comes to strange noises and smells, it's always better to be safe than sorry. Many of these issues can escalate quickly if ignored.
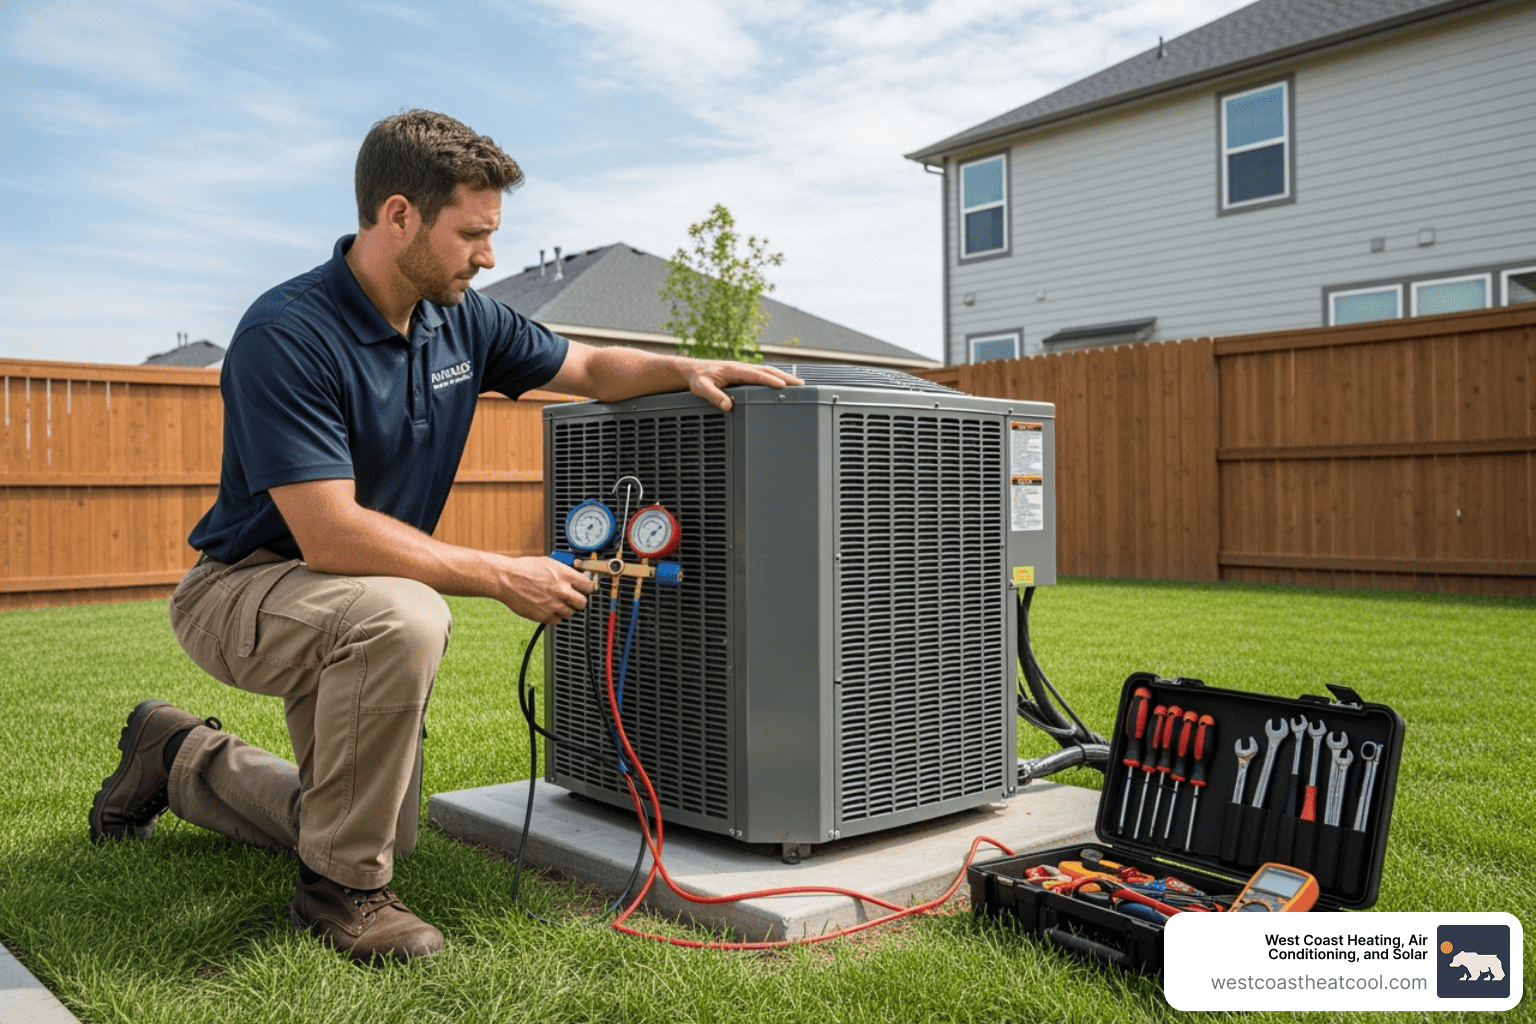
When to Call a Professional for Heat Pump Repair
While we empower homeowners with DIY heat pump troubleshooting tips, some problems are simply too complex, dangerous, or require specialized tools and knowledge. Knowing when to call in the cavalry is crucial for your safety and the longevity of your system.
Red Flags That Require Expert Heat Pump Troubleshooting
If you've gone through the basic checks and your heat pump is still misbehaving, or if you encounter any of the following, it's time to pick up the phone:
- Persistent issues: You've tried the DIY steps, but the problem keeps coming back. This signals a deeper, underlying issue.
- Electrical problems: Any signs of electrical trouble – buzzing sounds from the unit, breakers that constantly trip, or especially a burning smell – are serious. Electrical work within an HVAC system can be dangerous and should only be handled by a qualified technician.
- Lack of power: If your unit still has no power after checking the breakers and switches, it indicates a more complex electrical fault that needs expert diagnosis.
- Unusual noises or smells persist: While some minor noises can be benign, persistent loud or alarming sounds (grinding, screeching, banging) and any burning or rotten egg smells require immediate professional attention.
The Dangers of Refrigerant Leaks
Refrigerant is essential for your heat pump's operation, but it's also a hazardous chemical. Leaks are a common problem that always requires a professional technician.
Signs of a refrigerant leak include:
- Hissing or bubbling sounds: These can come from the refrigerant lines themselves.
- Oily residue: You might notice an oily film around the refrigerant lines or components.
- Poor performance: The system struggles to heat or cool effectively.
- Ice on coils: This is a classic sign, as insufficient refrigerant causes the coils to get too cold.
Refrigerant leaks are dangerous for several reasons. Inhaling refrigerant can be harmful to your health, and it's also an environmental pollutant. Furthermore, a system running low on refrigerant will eventually cause severe damage to the compressor, leading to a much more expensive repair. Only certified HVAC technicians are equipped to safely detect, repair, and recharge your system with the correct type and amount of refrigerant.
Major Component Failure and Replacement
Sometimes, a heat pump issue isn't a simple fix; it's a major component failure. These are often the most expensive repairs and might lead to a discussion about repairing versus replacing your entire system.
Common major component failures include:
- Compressor failure: The compressor is the heart of your heat pump, circulating refrigerant. A failed compressor is typically the most expensive type of heat pump repair.
- Fan motor issues: Both indoor and outdoor fan motors can fail, leading to airflow problems or system shutdowns.
- Reversing valve replacement: If this valve fails, your system may be stuck in one mode, or unable to switch between heating and cooling.
When facing a major repair, especially if your system is getting older, we'll help you weigh your options. Systems that are more than 10–12 years old may be candidates for replacement rather than repair. The cost of a major repair on an older, less efficient unit might be better invested in a new, high-efficiency heat pump. Our team can help you make an informed decision on When to Replace a Heat Pump and guide you through the process of Heat Pump Replacement services.
Frequently Asked Questions about Heat Pump Issues
We hear a lot of questions from homeowners in San Diego County about their heat pumps. Here are some of the most common ones, along with our expert answers.
Why is my heat pump blowing cool air in 'heat' mode?
This is a very common concern, and it can be confusing! There are a few reasons why your heat pump might be blowing cool air when you expect warmth:
- Defrost cycle: As we discussed, heat pumps periodically enter a defrost cycle in colder weather to melt ice from the outdoor coil. During this time, the system temporarily reverses, and the indoor unit might blow cool air for a few minutes. This is normal behavior.
- Low refrigerant levels: If your system is low on refrigerant, it can't effectively absorb heat from outside, leading to lukewarm or cool air blowing indoors. This also often causes ice buildup on the outdoor unit.
- Reversing valve issues: A faulty reversing valve might be stuck in the "cooling" position, even when your thermostat is calling for heat.
- Clogged air filter: A dirty air filter restricts airflow, which can make the air coming from your vents feel cooler than it should, even if the system is technically heating.
How do I reset my heat pump?
Resetting your heat pump can sometimes clear minor electrical glitches or communication errors, much like restarting your computer.
- Safety first: Always begin by going to your electrical panel and flipping the circuit breaker that controls your heat pump to the "off" position. This cuts all power to the unit.
- Waiting period: Leave the power off for at least 5 minutes. This allows the system's internal components to fully discharge and reset.
- Restoring power: After the waiting period, flip the circuit breaker back to the "on" position.
- Observe: Give your heat pump some time to restart and see if the issue is resolved.
A reset can often help with issues like a unit not turning on or off properly, or intermittent malfunctions. However, if the problem persists after a reset, it indicates a more significant issue that requires professional heat pump troubleshooting.
What causes a heat pump to leak water?
Finding water around your indoor unit can be alarming, but it's usually a common issue with a straightforward explanation:
- Clogged condensate drain line: As your heat pump cools your home, it removes humidity from the air, creating condensation. This water collects in a drain pan and flows out through a condensate drain line. If this line gets clogged with algae, dirt, or debris, the water will back up and overflow the pan, leading to leaks.
- Clogged drain pan: Sometimes the drain pan itself can accumulate enough gunk to prevent proper drainage.
- Frozen evaporator coils: If the indoor coils freeze due to restricted airflow (dirty filter) or low refrigerant, when they eventually melt, the amount of water can overwhelm the drain pan, causing it to overflow.
- High humidity: In very humid conditions, your heat pump might produce more condensation than the drain system can handle, leading to temporary overflows.
While you can sometimes clear a simple clog in the condensate line yourself using a wet/dry vacuum, persistent water leaks should be addressed by a professional to prevent water damage and diagnose any underlying issues like frozen coils or refrigerant problems.
The Best Fix: Prevention Through Regular Maintenance
When it comes to your heat pump, an ounce of prevention is truly worth a pound of cure. Regular maintenance is the single most effective way to prevent costly breakdowns, extend the life of your system, and ensure it runs efficiently year-round.
Proactive care helps us catch small issues before they become major headaches. Think of it like getting regular oil changes for your car – it keeps everything running smoothly and prevents unexpected stalls. Our scheduled tune-ups ensure smooth operation during both the heating and cooling seasons, providing you with consistent comfort and peace of mind.
A professional heat pump tune-up typically includes:
- Thorough inspection: Checking all electrical components, wiring, and connections for safety and proper function.
- Coil cleaning: Cleaning both indoor and outdoor coils to ensure optimal heat transfer.
- Refrigerant level check: Verifying correct refrigerant charge and inspecting for leaks.
- Air filter replacement: Ensuring your system has a clean filter for maximum airflow.
- Drain line cleaning: Clearing any clogs in the condensate drain line.
- Thermostat calibration: Ensuring accurate temperature readings and communication with the unit.
- Fan and motor lubrication: Checking and lubricating moving parts to reduce wear and noise.
- System performance test: Measuring airflow, temperature differential, and overall operation to ensure efficiency.
Regular maintenance is vital for keeping heat pumps running efficiently, preventing breakdowns, preserving efficiency, and significantly extending the unit's lifespan. With proper care, your heat pump can last between 12-16 years, providing reliable comfort for your home.
For comprehensive diagnostics and repairs in San Diego County, trust the experts at West Coast Heating Air Solar & Plumbing. We're dedicated to ensuring your Heat Pump Systems operate at their best, providing you with year-round comfort. Reach out to us for expert service and keep your home comfortable, efficient, and worry-free.
More info about our HVAC services in San Diego, CA
.svg)


.jpeg)